
Why I Chose the ThinkPad T480 So, why the T480 out of all laptops?
🛡️ Built like a tank – It’s a business-grade machine that can handle long runtimes and daily abuse.
🧠 Decent power – The i7-8650U isn’t a beast, but it’s efficient and powerful enough for multiple VMs and containers.
💸 Affordable & available – You can grab one for cheap these days on OLX or refurb sites.
🔧 Upgradeable – Dual RAM slots (mine’s upgraded to 32 GB), replaceable battery, easy SSD swap.
🧊 Runs cool with proper cooling – Especially with an external fan underneath.
Basically, it hits the sweet spot between power, price, and portability — which made it perfect for a budget-friendly homelab project. Also… I already had it lying around 😅
This is a full step-by-step breakdown of how I turned my ThinkPad T480 into a powerful, self-hosted Proxmox lab — built for running virtual machines, experimenting with containers, testing tools, and learning hands-on. I didn’t use any flashy hardware or expensive server parts — just a solid old laptop, some patience, and a lot of curiosity. Along the way, I dealt with storage quirks, backup setups, and performance tuning to make sure everything ran smoothly. I hit a few bumps, broke a few things, fixed them, and ended up with a clean, stable homelab that I use daily. Here’s how it all went down 👇
💻 PC Specs — Lenovo ThinkPad T480
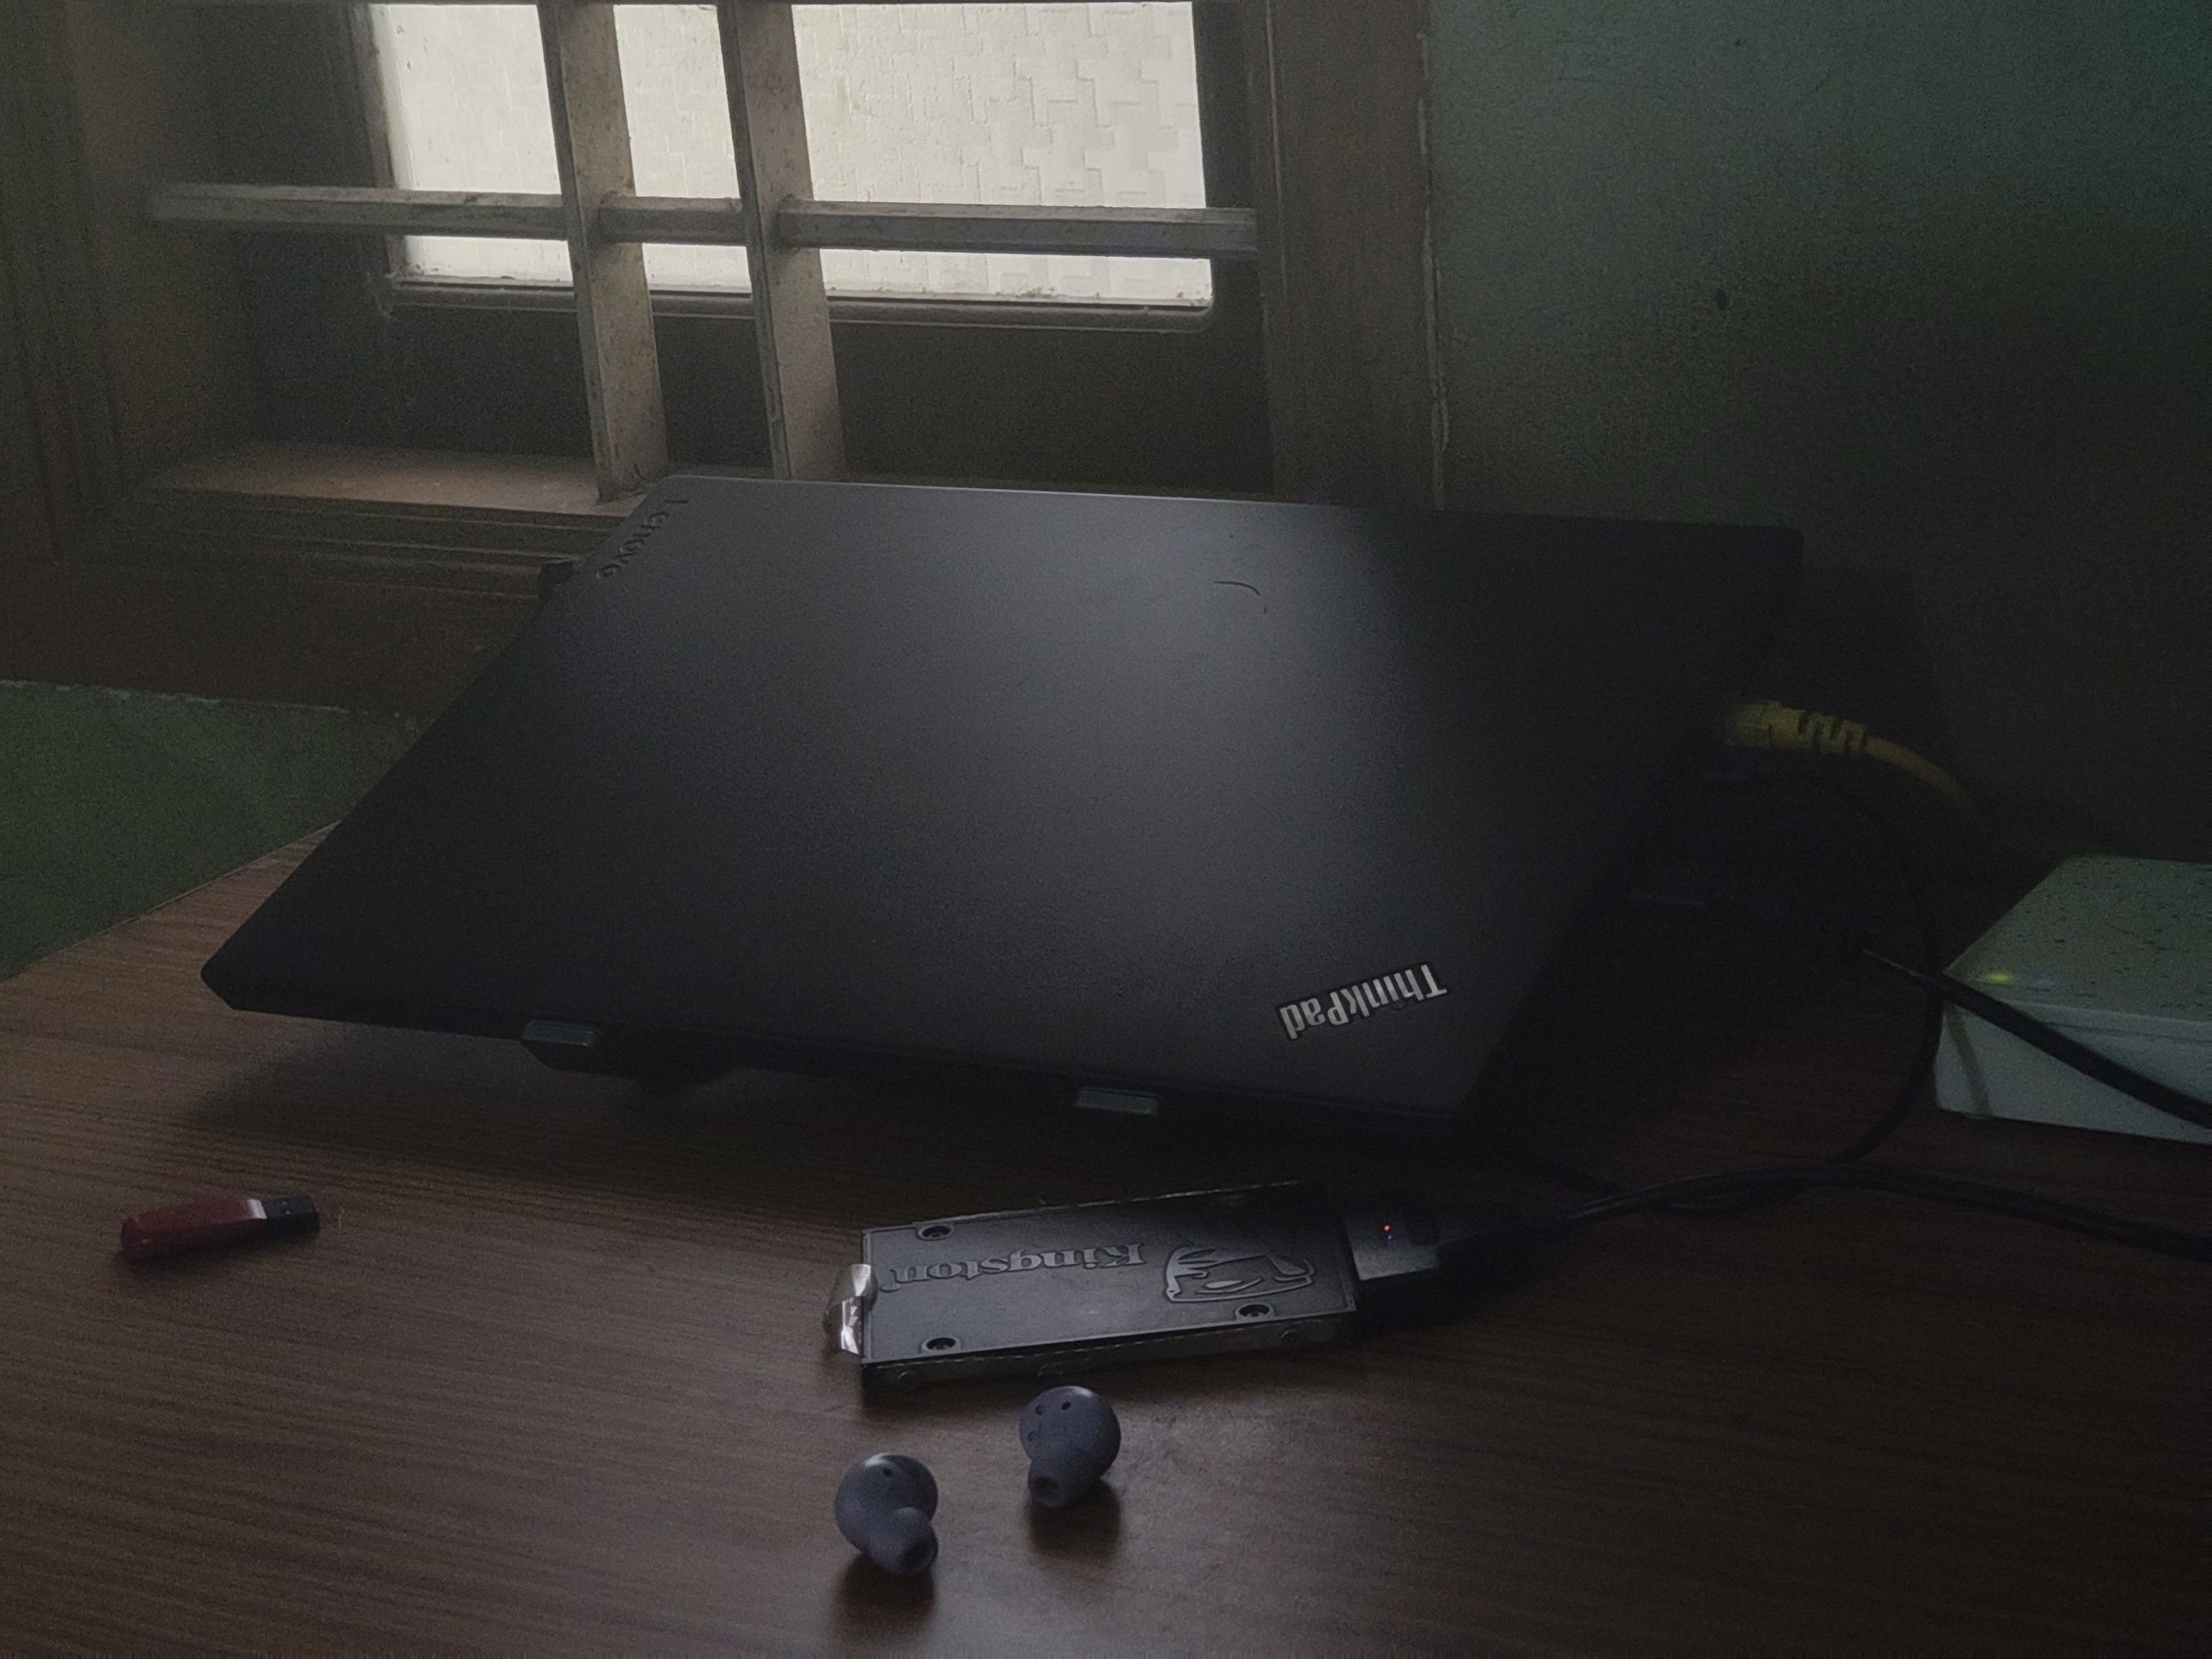
My ThinkPad T480 lab setup — running Proxmox, connected to Ethernet, with an external SSD
The entire setup runs on my trusty Lenovo ThinkPad T480, a no-nonsense business laptop that has become a favorite in the homelab community. It’s compact, reliable, and surprisingly powerful for its age.
Under the hood, it packs an Core i7-8650U processor, which provides solid multi-core performance — more than enough for running multiple VMs and containers without major slowdowns. I’ve upgraded the RAM to a generous 32 GB, giving Proxmox the breathing room it needs to handle several virtual environments simultaneously.
For storage, I’m running a dual-drive setup:
- A 256 GB internal SSD for Proxmox and core system files (will upgrade it for later)
- A 256 GB external SSD connected via USB 3.0, which I use for VM storage, ISO templates, and backups
Despite being a laptop, this combo gives me excellent flexibility and speed. No fancy RAID or NVMe setup here — just well-optimized basics that get the job done.
I kept my ThinkPad plugged in at all times and made sure it was slightly propped up to help airflow. But I didn’t stop there — I also connected an external laptop cooling fan underneath. Trust me, once you start spinning up multiple VMs or running Docker containers, things heat up fast. A little cooling goes a long way in avoiding thermal throttling right in the middle of your hacking experiments or system updates.
✅ Proxmox VE Installation
🛠️ Step 1: Download Proxmox ISO
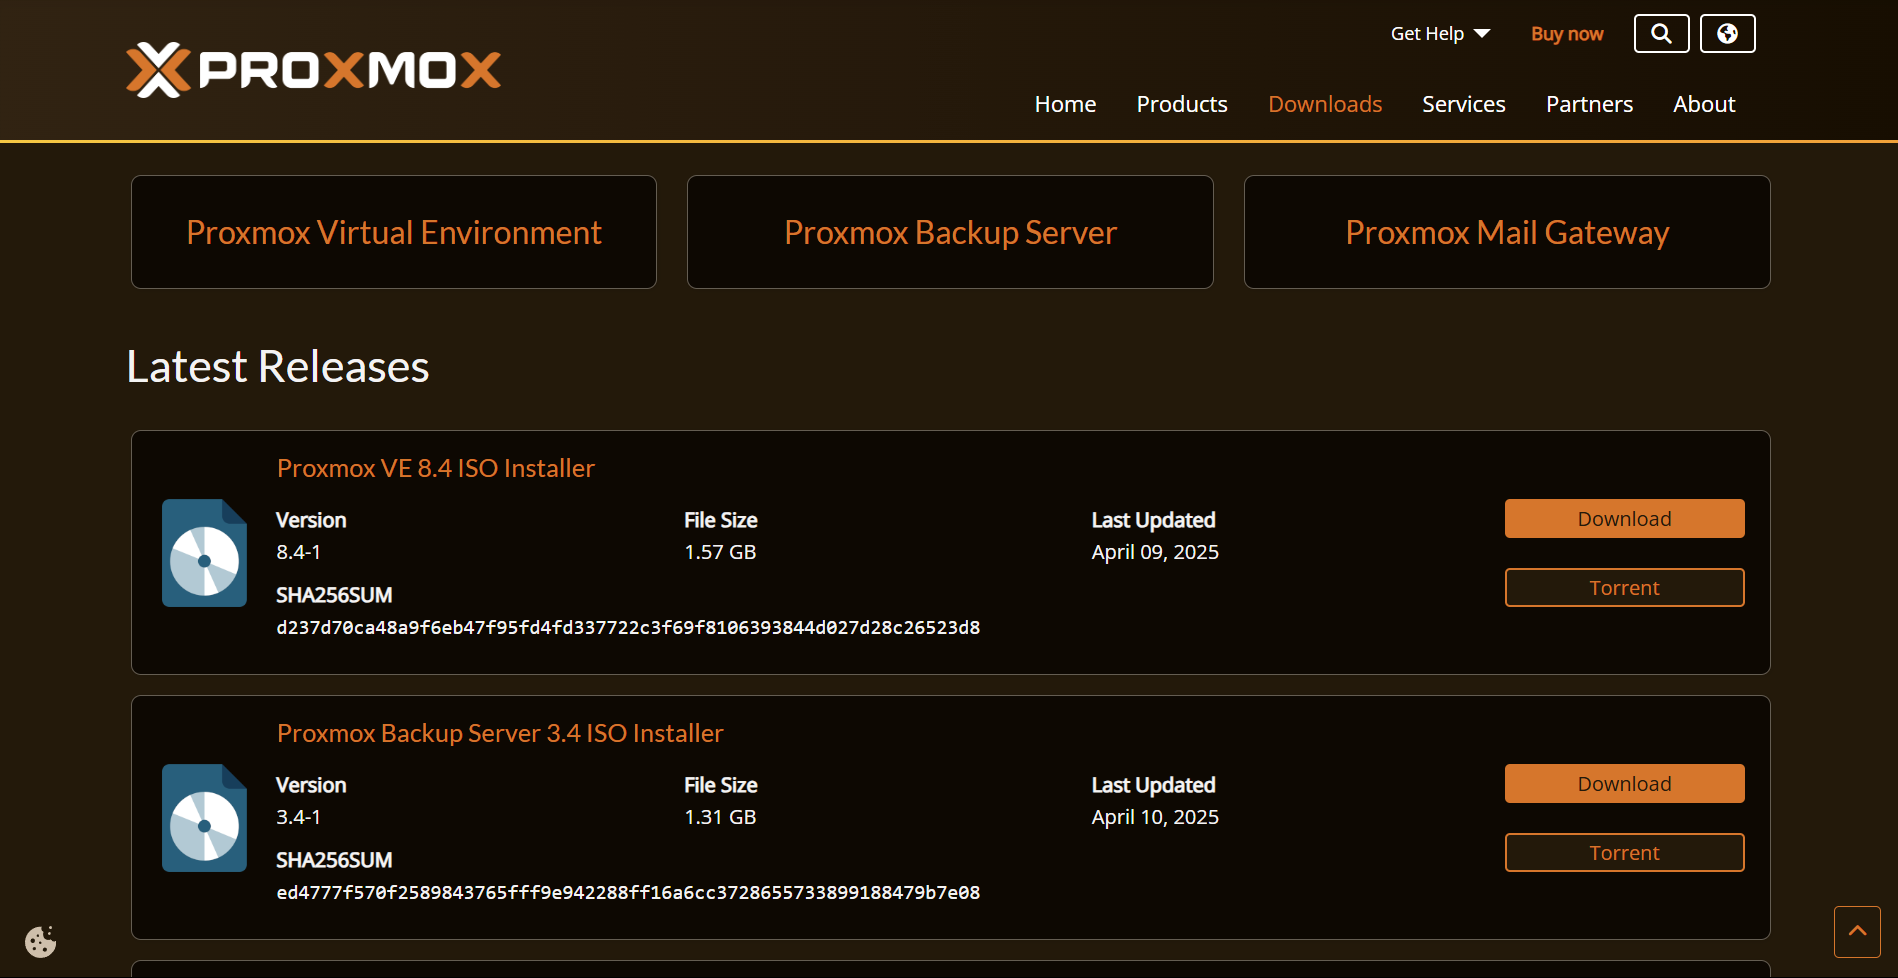
Official Proxmox website — downloading version 8.4.1 via torrent for faster installation
I started by downloading the latest Proxmox VE ISO from the official site. But the direct download speed was honestly painful. Instead, I grabbed the torrent version and used qBittorrent — much faster, much smoother. Make sure to grab the latest stable release. This ISO is what you’ll flash to your USB to install Proxmox.
🛠️ Step 2: Check Disk Partition Style (Windows & Linux)
Before installing Proxmox, it’s important to know whether your disk is using MBR or GPT partitioning. This determines whether you should boot your installer in UEFI or Legacy BIOS mode.
💻 On Windows:
- Press
Win + X→ Open Disk Management - Right-click your main disk → Properties → Volumes
- Check the Partition Style — it will say GPT or MBR
🐧 On Linux:
Open a terminal and run:
sudo parted -l
Look for a line like:
Partition Table: gpt
or:
Partition Table: msdos
🔹
gpt→ use UEFI boot
🔹msdos→ use Legacy boot
Knowing this helps avoid boot issues during install. I personally double-checked mine before flashing Proxmox so I could set the right boot mode in BIOS.
🛠️ Step 3: BIOS Configuration
Before flashing Proxmox, I rebooted into the BIOS setup by pressing F1 (or DEL, varies by laptop).
Here’s what I enabled or changed:
- ✅ Enabled Virtualization (VT-x / AMD-V)
- ✅ Disabled Secure Boot
- ✅ Set Boot Mode to UEFI or Legacy based on disk style
Without these changes, Proxmox might not boot properly or your VMs won’t run.
🛠️ Step 4: Create Bootable USB
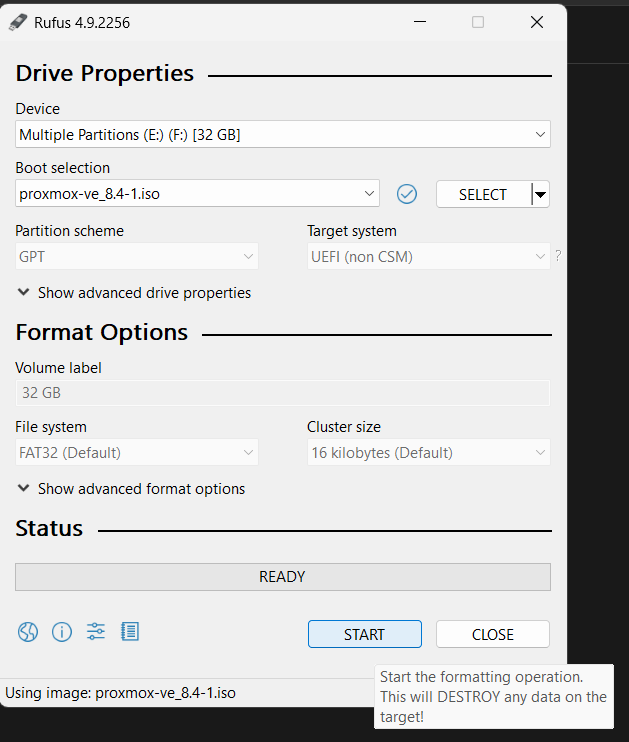
Rufus settings used to flash proxmox-ve_8.4-1.iso to USB using GPT and UEFI (non CSM)
⚠️ Starting this will erase all data on the selected USB drive.
I used Rufus to create a bootable USB stick using the Proxmox ISO.
Steps:
- Plug in an 8GB+ USB drive
- Open Rufus → Select ISO file
- Use the correct partition scheme (MBR or GPT depending on your BIOS mode)
- Flash!
Once done, I used the F12 boot menu on my ThinkPad to boot from the USB.
🛠️ Step 5: Install Proxmox to SSD

Booted from USB — Proxmox VE 8.4 installer showing options for graphical or terminal-based setup
I selected my internal SSD as the install target — and yes, ⚠️ this erased everything on it.
Then I set:
- Timezone
- Root password (don’t forget this!)
- Static IP address
Once complete, it rebooted and showed me a message to access Proxmox via:
https://<your-ip>:8006
Ignore the SSL warning and continue — you’ll land on the Proxmox dashboard.
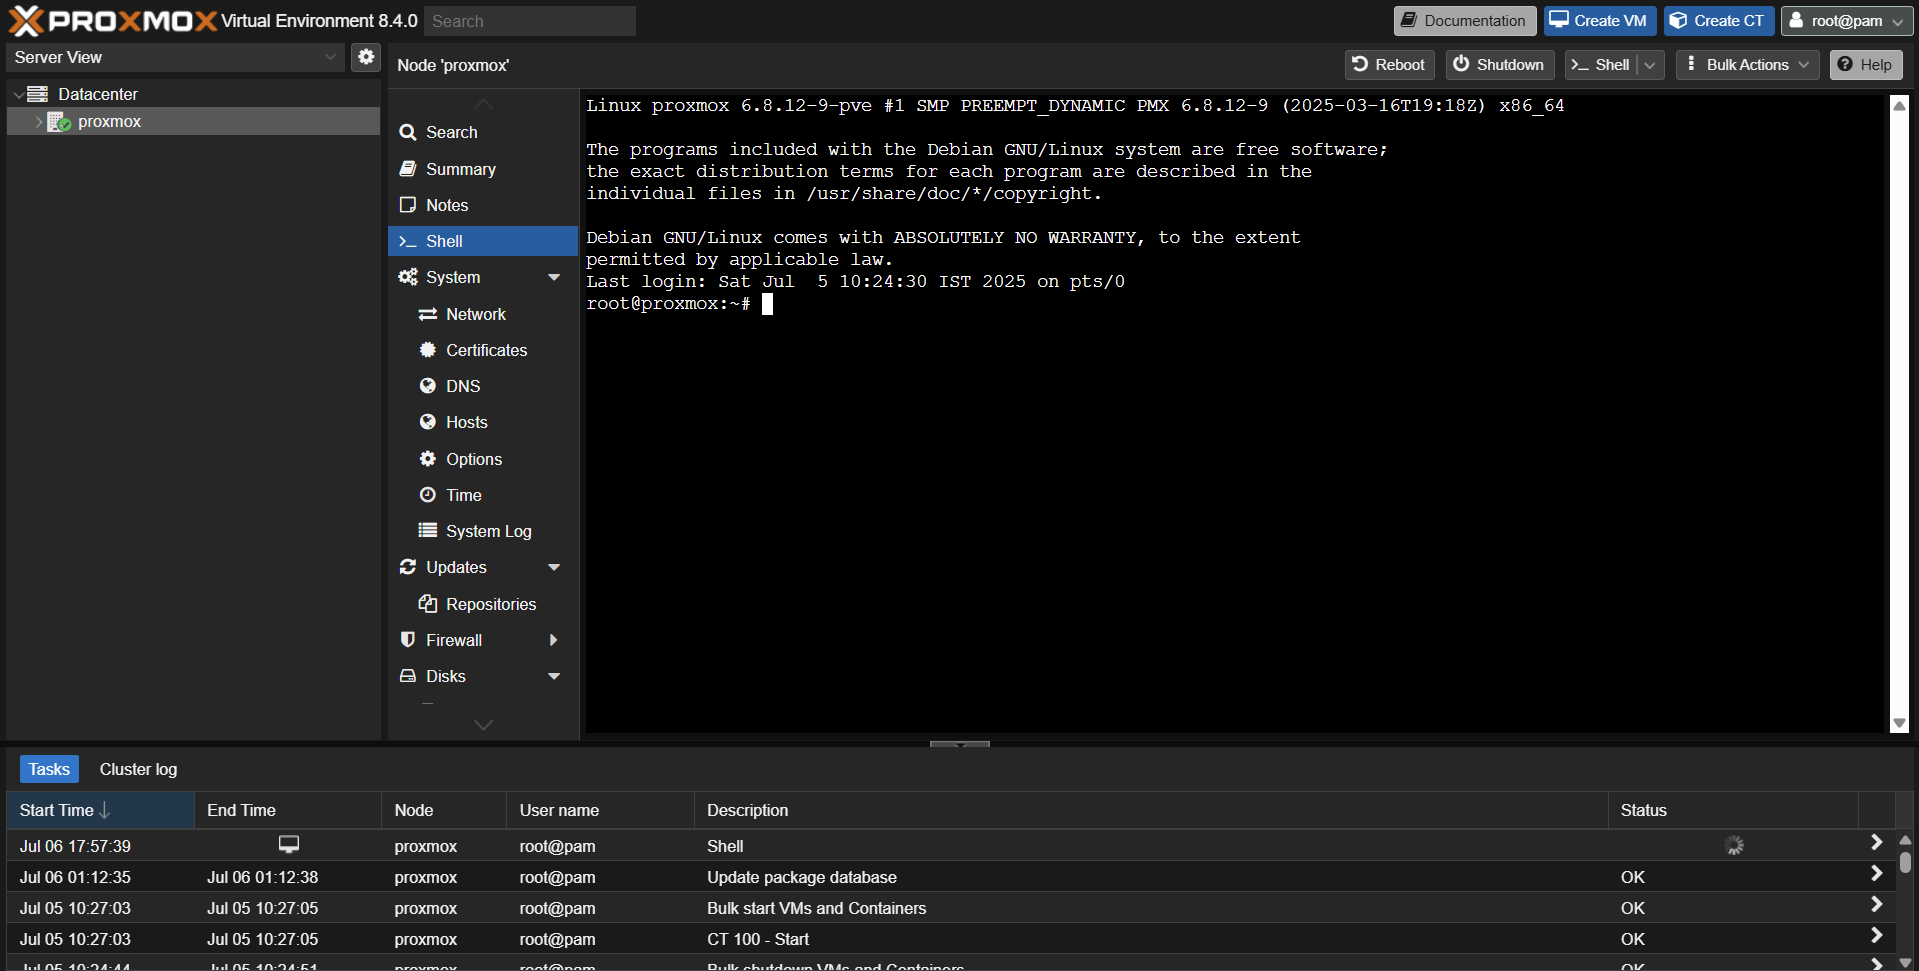
First login into Proxmox Web UI — accessed the root shell to update packages and configure networking
🛠️ Step 6: Post-Install Cleanup
Right after logging into the dashboard:
- I removed the default enterprise repo to avoid subscription nags
- Added the no-subscription repo
- Ran a full system update from the shell using:
apt update && apt full-upgrade -y
reboot
After reboot, my system was clean, updated, and ready to spin up VMs 🔥
🛠️ Fix Proxmox Repo Error After Fresh Installation
After running apt update right after installing Proxmox VE, you might see this error:
E: Failed to fetch https://enterprise.proxmox.com/... 401 Unauthorized
🤔 Why This Happens
Proxmox by default enables the Enterprise Repository, which is meant for users with a paid subscription. If you’re using Proxmox for personal or homelab use (without a subscription), you’ll need to switch to the No-Subscription Repository.
✅ Fix: Use No-Subscription Repository
sed -i 's/^deb/#deb/g' /etc/apt/sources.list.d/pve-enterprise.list
echo "deb http://download.proxmox.com/debian/pve bookworm pve-no-subscription" > /etc/apt/sources.list.d/pve-no-subscription.list
apt update && apt full-upgrade -y
🧹 Optional: Disable Ceph Enterprise Repo
Why disable the Ceph Enterprise repo? Because you’re not using it, and it needs a paid plan. If you leave it on, you’ll get errors when updating. So turning it off just avoids useless problems. ✅
nano /etc/apt/sources.list.d/ceph.list
# Comment out:
#deb https://enterprise.proxmox.com/debian/ceph-quincy bookworm enterprise
💾 Reclaim Full Internal SSD for VM Storage
By default, Proxmox splits your SSD into two parts — one for the system and one for VMs. But if you’re using an external SSD for VMs, the internal one’s VM space is just sitting there, wasted. 😬 So we delete that extra part and give all the space to the system — simple and clean. ✅
lvremove /dev/pve/data
lvresize -l +100%FREE /dev/pve/root
resize2fs /dev/mapper/pve-root
🔌 Connect & Configure External SSD for VM Storage
Why I did this:
To save space on my internal SSD and keep things organized. Instead of putting VMs, backups, and ISOs on the main drive, i moved them to an external SSD.
✅ Keeps the system clean
✅ Gives more storage for VMs
✅ Easier to manage everything
In short: I used the external SSD to handle the big stuff, so my main drive doesn’t get full or messy.
Format & Mount:
mkfs.ext4 /dev/sdb
mkdir /mnt/externalssd
mount /dev/sdb /mnt/externalssd
blkid /dev/sdb  # Get UUID
nano /etc/fstab
# Add:
UUID=xxxx /mnt/externalssd ext4 defaults 0 0
Add to Proxmox GUI:
- Datacenter → Storage → Add → Directory
Optional: LVM-Thin on External SSD
It helps you save space and create copies of VMs faster.
Normally, if you make 3 copies of a 20GB VM, it uses 60GB. With LVM-Thin, the copies share space — like magic ✨ — so it uses much less.
✅ Good if you make/test lots of VMs
✅ Makes cloning and snapshots faster and lighter
In short: You’d set this up if you want to do more with less space. If not doing that, you can skip it 🙂
wipefs -a /dev/sdb
pvcreate /dev/sdb
vgcreate external-vg /dev/sdb
lvcreate -l 100%FREE -T external-vg/external-thin
Add it via GUI as LVM-Thin.
😴 Prevent Sleep on Lid Close
I guess u get y this one is for 🙃
nano /etc/systemd/logind.conf
# Change:
HandleLidSwitch=ignore
systemctl restart systemd-logind
🧯 Fix for Console Error
TASK ERROR: command '/usr/bin/termproxy ...' failed: exit code 1
systemctl restart pveproxy
🎯 Final Recap
✅ Installed and updated Proxmox VE
✅ Fixed repository issues
✅ Merged internal SSD partitions
✅ Mounted external SSD
✅ Enabled LVM-Thin if needed
✅ Prevented sleep on lid close
✅ Fixed console terminal issue
🙏 Thank You!
Appreciate you making it this far 😄
I’ll be adding more homelab projects and things I built on top of this soon — from cybersecurity labs to automation setups.
This is just the start 💻✨